How to update the PowerShell version on Windows
Today i will show you how to update the PowerShell to 5.1 or proceed with the new installation of the PowerShell Core 7.3 which can be use it in multiple OS.
Let's take a look in the following table from Microsoft to find out your prerequisites base on your Windows Version.
Prerequisites for the PowerShell 5.1
I copy the table from Microsoft Documentation to prepare for the next steps. If you need more details the you can read the Microsoft Documentation Windows PowerShell System Requirements
| Windows Version | System Requirements |
|---|---|
| Windows Server 2022 | Installed by default |
|
Windows Server 2019 |
Installed by default |
| Windows Server 2016 | Installed by default |
| Windows Server 2012 R2 | Install Windows Management Framework 5.1 |
| Windows Server 2008 R2 with Service Pack 1 | Install Windows Management Framework 5.1 |
| Windows 11 | |
| Windows 10 version 1507,1511 | Install Windows Management Framework 5.1 |
| Windows 8.1 | Install Windows Management Framework 5.1 |
| Windows 7 with Service Pack 1 | Install Windows Management Framework 5.1 |
How to update the PowerShell to the latest version
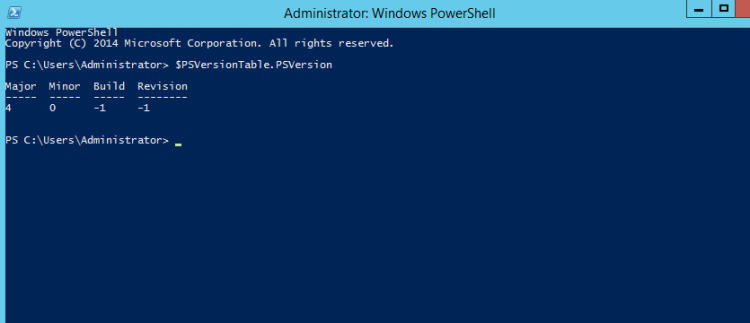
Before start the to upgrade the PowerShell it's better to check the PowerShell version that already have.
You can open the PowerShell as Administrator and type the command $PSVersionTable.PSVersion.
Next step is to download the Windows Management Framework 5.1 and the .NET Framework 4.5.2 which are the prerequisite for the Powershell 5.1.
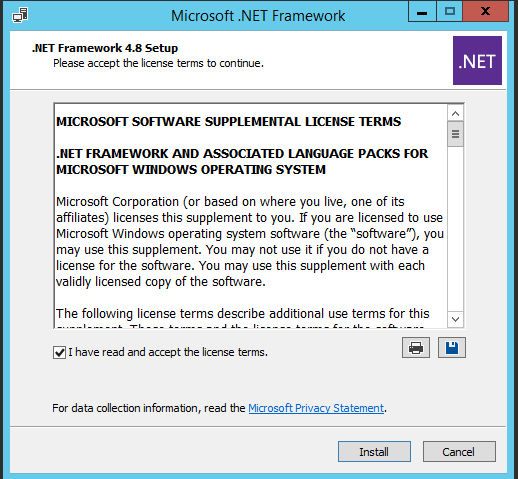
It's recommended to download the latest version .NET Framework 4.8
After you have successfully download the application let's start the installation to update the Powershell
- First install the .NET Framework 4.8
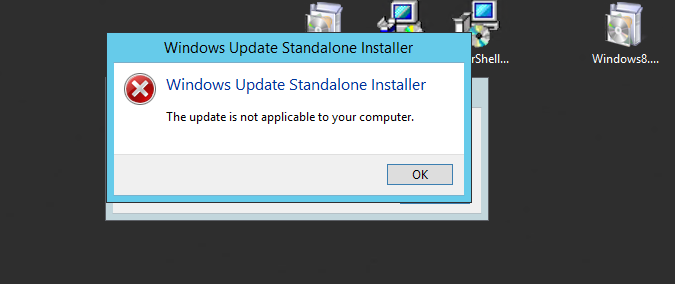
- Then proceed with the installation of the Windows Management Framework 5.1. If you get the error The update it's not applicable to the computer you can read a very helpful article The update is not applicable to your computer: Windows Update Error by woshub that can be resolve your issue.
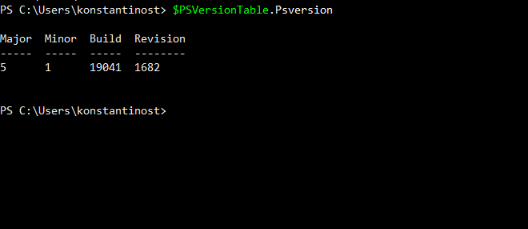
- Restart the Server and type again the command $PSVersionTable.PSVersion
- As you can see now the version has been upgraded to 5.1
What is the PowerShell 7 Core
Microsoft has started to release the PowerShell Core which is an open source cross platform edition of the PowerShell. It's recommended to use it when you have various OS in your environemnt and you want a single script language to manage your Servers. Also it's build for hybrid cloud.
If you would like to read more details for the difference between PowerShell 5.1 and Powershell Core you can read the docimentation from Microsoft in Differences between Windows PowerShell 5.1 and PowerShell 7.x .
Prerequisites for the PowerShell 7
The only prerequisites that I found in the Microsoft Documentation are the followings
- The Windows Management Framework (WMF) 5.1 which needed for the PowerShell Remoting
- Universal C Runtime for the older versions of Windows 10.
How to install PowerShell 7 Core
There are multiple ways to install PowerShell 7 base on your requirements. The installation is straightforward without need to spend lot of time. Let's see all the different ways that can use to install the Powershell 7
- Winget
- MSI Package
- Zip Package
- From Microsoft Store
Install it with Winget
Installation with Winget it's the recommended method from Microsoft to install in the Windows Clients without means that you can't use it any of the other methods.
Note that the winget it's not supported on the Windows Servers. The winget command line tool is only supported on Windows 10 1709 (build 16299) or later.
- Because winget it's included from Windows 10 21H1 and later , first let's check if we have the winget already installed
- Run the following command to verify it
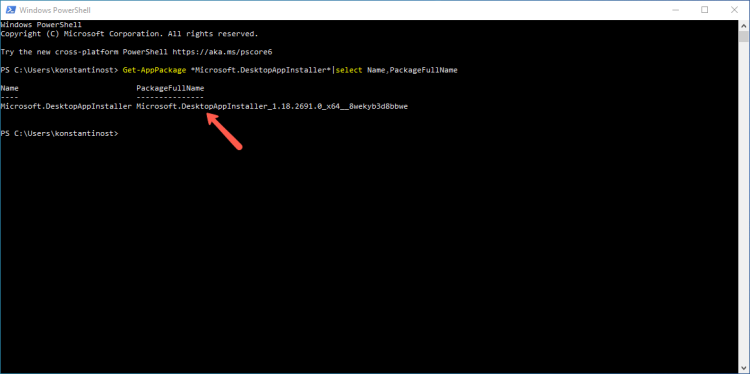
Get-AppPackage *Microsoft.DesktopAppInstaller*|select Name,PackageFullName - In my case the winget already installed. The UWP name is Microsoft.DesktopAppInstaller.
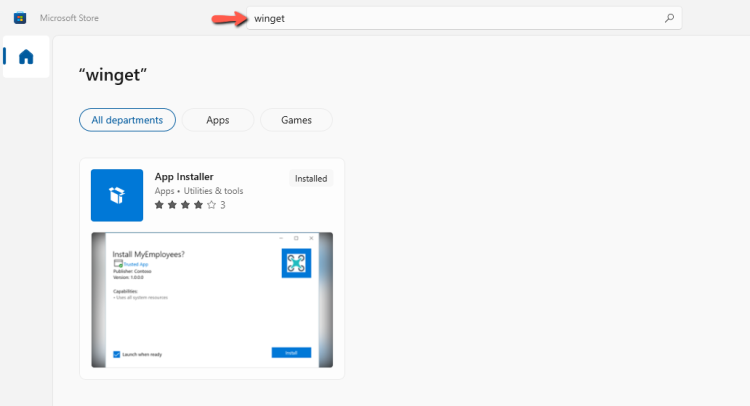
- But if you don't have it then you can install it from Microsoft Store.
- Just open the Microsoft Store and type winget. Then click Get and wait to finish the installation.
- After the finish the installation open a Powershell and run the following command to search for the Powerhell Versions
winget.exe search Microsoft.Powershell - If it's the first time you need to type Y to agree with the terms
- Then as you have the list included the id of the PowerShell package you can proceed with the following command for the installation
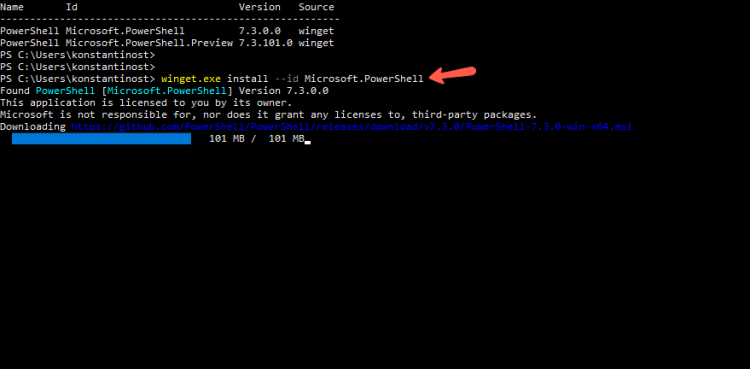
winget.exe install --id Microsoft.PowerShell
- Wait until the installation will finish, and find the PowerShell 7.3 from the Start Menu
With Msi Package
Other method that you can use is the most common with an MSI Package.
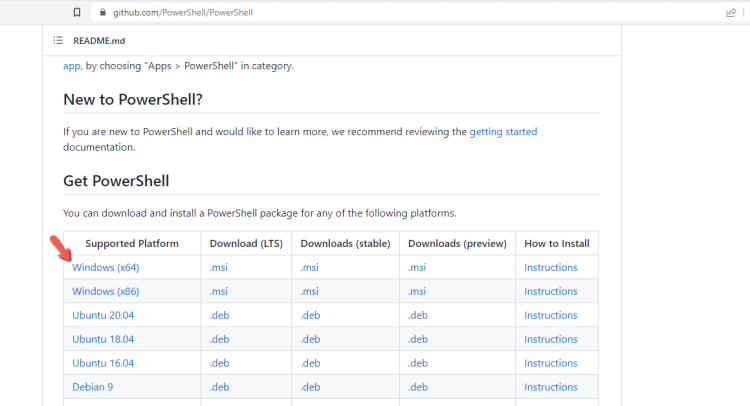
- Download the MSI Package from https://github.com/PowerShell/PowerShell
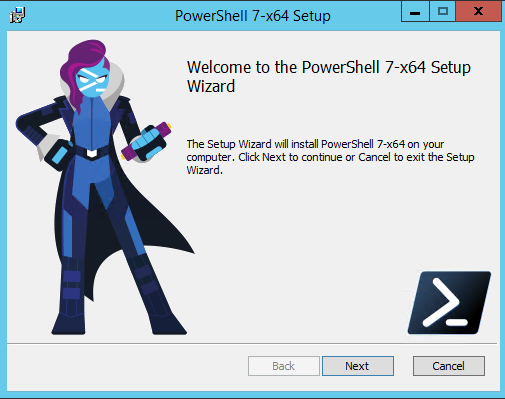
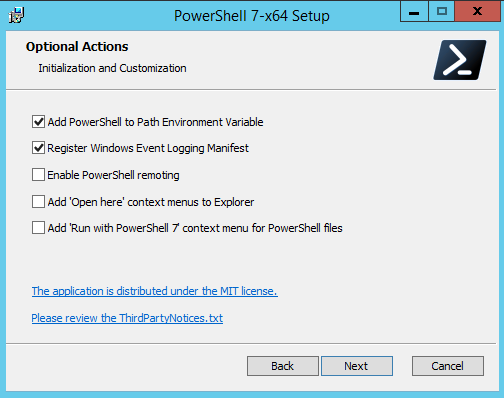
- Start the installation and follow the setup wizard
- You have the option to enable or disable some features of the PowerShell 7 through the installation wizard
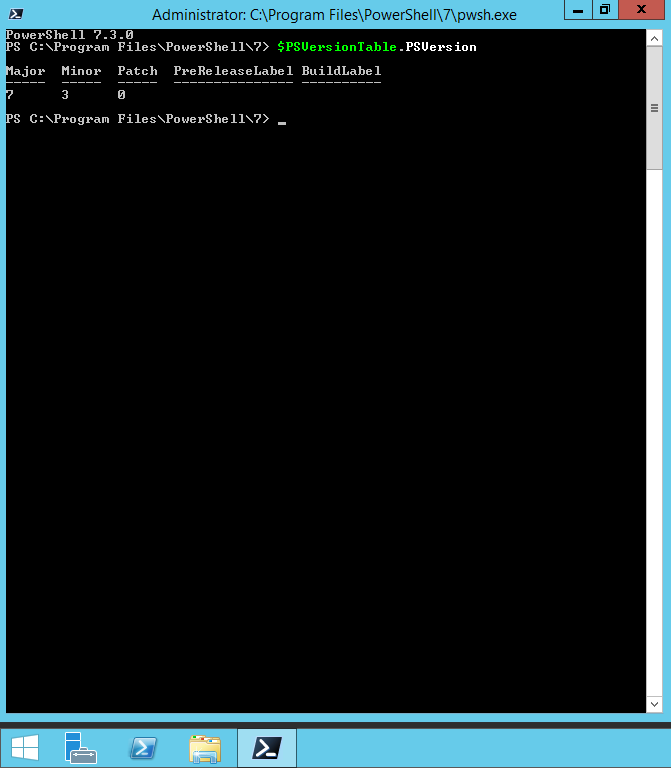
- After the installation will finished we can open the PowerShell 7.3 and run the $PSVersionTable.PSVersion to check the PowerShell Version
With Zip Package
The installaltion method with zip package it match better for the dockers or Linux OS. But if you prefer you can do the installation with Zip Package in any environemnt.
- Download the appropriate zip package from the https://github.com/PowerShell/PowerShell/releases/
- Save it to a location that you prefer.
- Extract the zip file
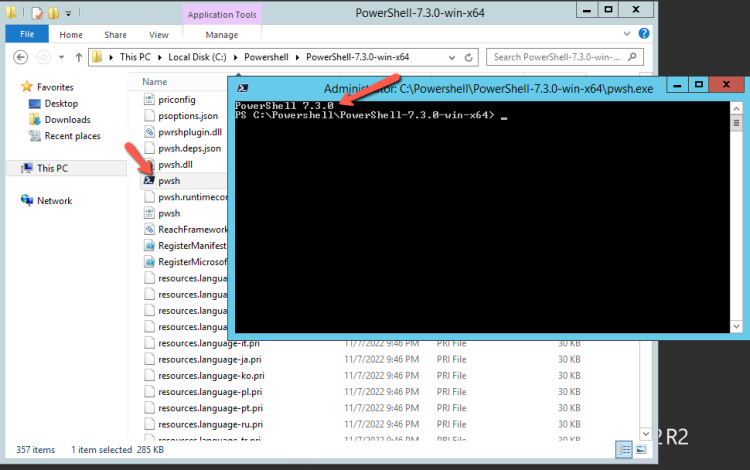
- Run the pwsh from the extracted folder.
- Remember that the installation with the zip package don't check the prerequisites. Be sure that you are met all the prerequisites before install the PowerShell with zip package.
From Microsoft Store
On Windows 10 or Windows 11 you can install the PowerShell 7.3 from Microsoft Store. However this method can't be used in Windows Server OS.
The installation of PowerShell from Microsoft Store has the following advantages:
- Automatic updates built right into Windows
- Integrates with other software distribution mechanisms like Intune and Configuration Manager
- Can install on Windows systems using x86, x64, or Arm64 processors
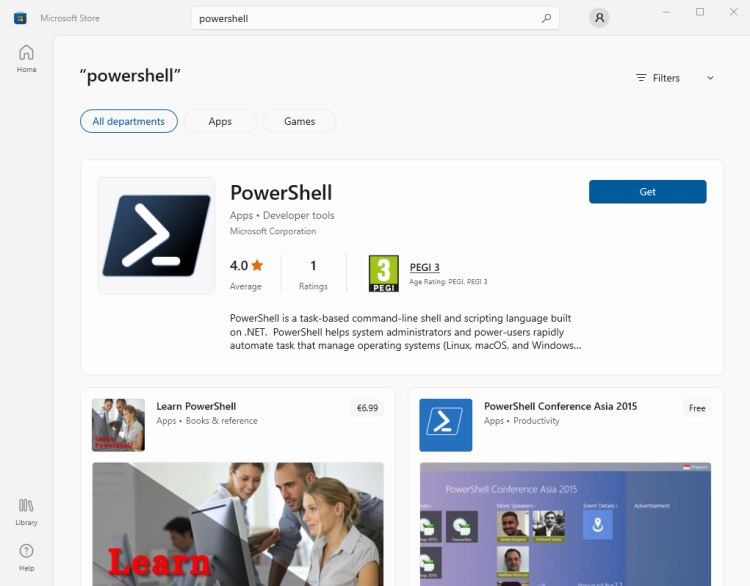
To install the PowerShell 7.3 from Microsoft Store just open the Microsoft Store and type Powershell. Run Get to install the Powerssell in the Windows 10.
That's it!!
As we can see the upgrade to the PowerShell 5.1 or the installation of the PowerShell Core 7.3 it's a simple and straighforward.


